

Healthcare providers frequently seek straightforward methods to test improvements while managing their daily responsibilities. The Plan-Do-Study-Act (PDSA) process offers a practical and structured framework that supports continuous quality improvement in these busy settings.
A well-designed board displays each stage clearly and helps providers decide whether to adopt a change or try another approach. Use these tips to set up PDSA cycle boards that make improvement work transparent and support more informed decision-making.
Choose One Problem With a Clear Scope
A PDSA board achieves the best results when the team begins with a focused, well-defined problem. Instead of setting broad goals such as “improve patient care,” which provide little direction for meaningful testing, clearly identify the specific process requiring attention and indicate the exact gap on the board. This targeted approach ensures the improvement effort remains manageable and actionable.
For instance, a clinic aiming to reduce delays between patient check-in and room placement defines a clear process to observe. By narrowing the focus in this way, the team can test a single change without needing to redesign the entire patient visit, making the improvement process both efficient and practical.
Define What Success Looks Like
Agree on the desired outcome before starting any test and document a clear statement on the board that outlines what the team aims to improve. Focus on practical outcomes such as reducing wait times or ensuring more complete documentation, which provides a concrete target. By defining success early, the Study stage becomes more meaningful and productive.
Build the Board Around the Four PDSA Stages
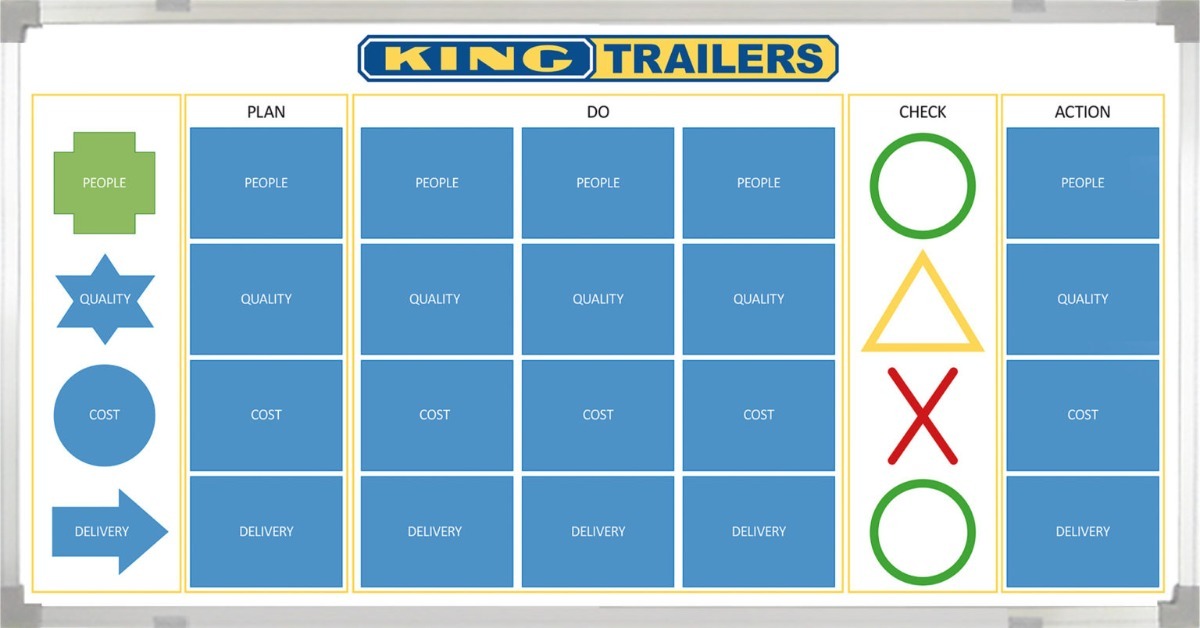
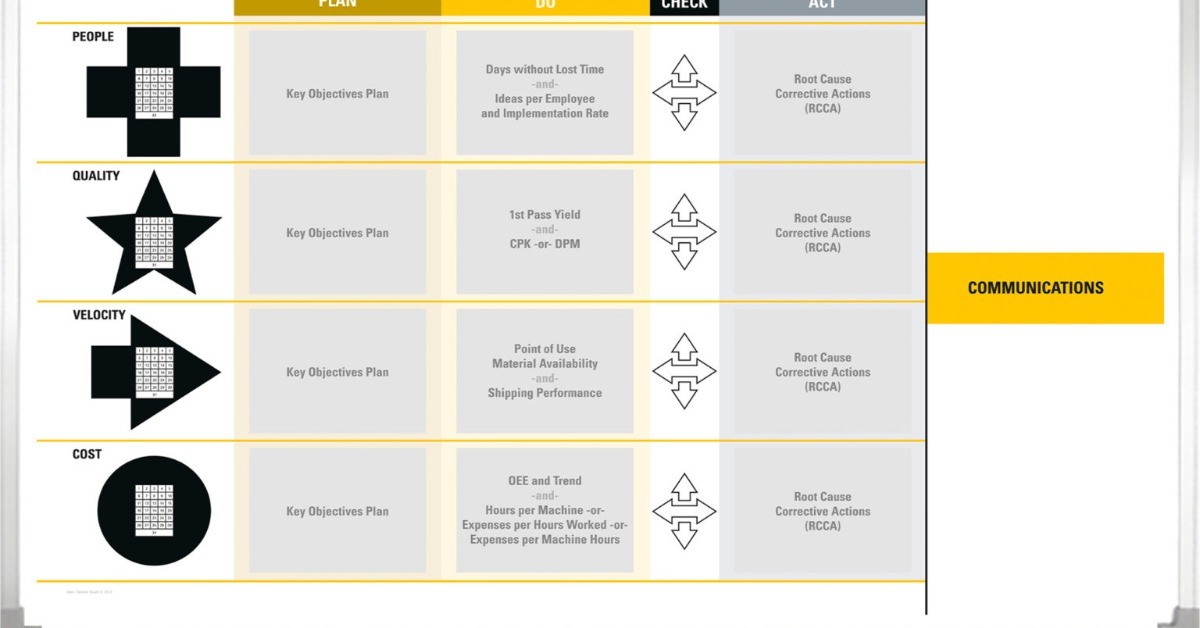
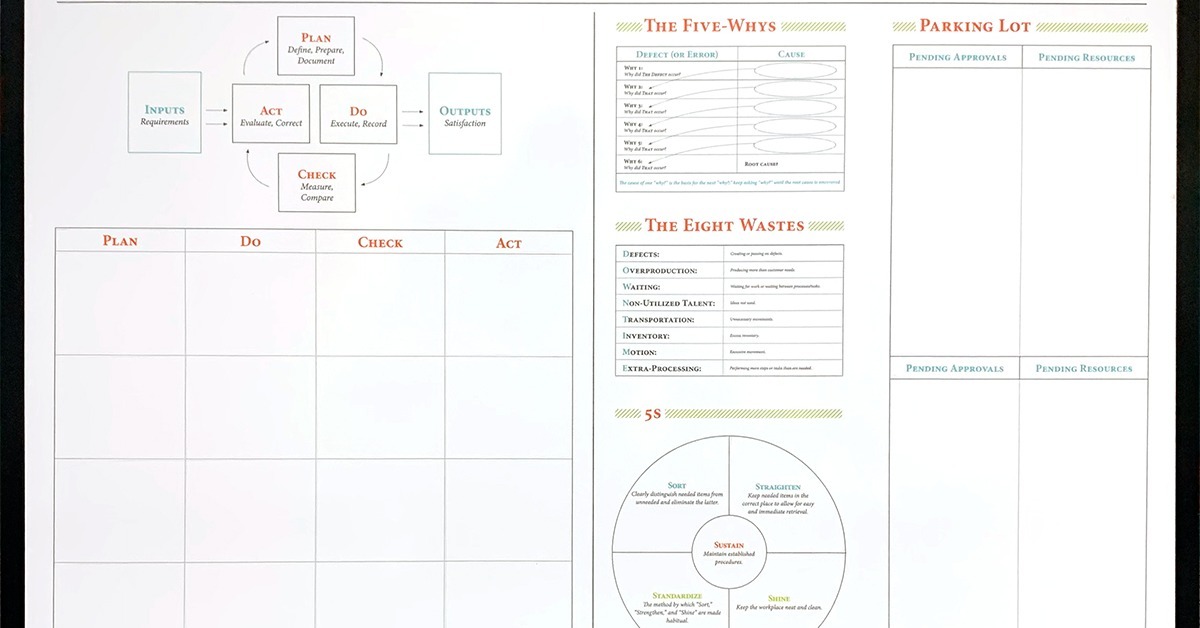
Designate sufficient space for practical notes within each stage of the board. Consider using a custom-printed layout that includes permanent sections for Plan, Do, Study, and Act. This structured approach prevents updates from becoming overcrowded and effectively guides the team through each phase of the cycle in the intended order.
Maintain a simple layout so that providers can quickly scan the board during meetings. Ensure each section serves a clear purpose and offers ample space for relevant information. Refrain from adding excessive boxes or complexity, as this can make the board feel cumbersome rather than helpful.
Write a Strong Plan Before Testing Anything
Use the Plan section to explain what the team will change and why. Ensure you provide enough detail to keep everyone aligned, but avoid turning it into a full project report. A concise plan supports action and allows for adjustment.
Be explicit about your expectations before the test begins by stating a clear prediction. This approach establishes a solid basis for comparison during the Study stage, ensuring that the team assesses outcomes with specificity and rigor rather than relying on general impressions.
Keep the First Test Small
Begin with a small test to limit disruption and accelerate team learning. For example, implement the change with one clinician, during a single shift, or with a small group of patients. This measured approach significantly reduces the risk of spreading an unproven idea across the entire department.
Decide What Data the Team Will Collect
Throughout each PDSA cycle, collect sufficient data to determine whether the change was effective. Select one or two measures that directly relate to the identified problem, and reserve a dedicated area on the board for baseline information and test results. Maintaining this evidence-based focus helps keep the team anchored in objective findings rather than subjective impressions.
Align the measurement plan with the size of the test. Avoid data collection processes that require more effort than the test itself. Gather useful information without unnecessary burden.
Use the Do Section to Capture What Happened
Use the Do section to document the test in real time, noting whether the team followed the planned approach and identifying any unexpected barriers that arose. Even brief observations can reveal why a change succeeded in one setting but not another. Capturing these details helps the team avoid drawing incorrect conclusions and informs future cycles.
Update the board while the test is still recent. Waiting too long can result in lost context. Make brief notes after each shift or trial period for best results. Timely observations strengthen the Study discussion.
Record Deviations Without Blame
Expect the test may not go exactly as planned. Staffing changes or patient needs may require workflow adjustments. Record these changes honestly on the board to provide context for the results.
Make the Study Stage More Than a Status Update
In the Study section, compare the actual results to the original prediction, identifying areas of improvement alongside ongoing challenges. Assess whether the data supports the team’s initial assumption. By using the board in this way, you transform it from a basic project tracker into a valuable learning tool that drives continuous improvement.
The team may find the change worked during quieter hours but not during peak demand. Another test may show staff interpreted the new step differently. These findings guide the next cycle more effectively than a simple success-or-failure label.
Use the Act Section to Set the Next Direction
Use the Act section to document next steps after reviewing results. Adopt the change if it worked, adapt the process if parts showed promise, or abandon the idea and choose a different approach if needed.
Clearly state the next decision on the board. If planning another cycle, ensure staff knows what will change in the next test. A clear Act section prevents unresolved discussions.
Keep Patient Privacy in Mind
Since PDSA boards are often visible in staff areas, avoid writing patient names or identifying details. The improvement process rarely requires this information. Use general labels to protect privacy while providing useful context.
Here are a few practical questions you can focus on:
- What stage has the cycle reached?
- What changed since the last review?
- What did staff observe during the test?
- Does the team need additional support?
- When will the group study the results?
- What decision needs to happen next?
Build Better Improvement Habits With PDSA Boards
Apply these tips when setting up PDSA cycle boards to strengthen each improvement cycle. Begin with a focused problem and a small, manageable test to establish a strong foundation. Take clear ownership to keep the cycle progressing, and use straightforward measurements to support continuous team learning.
Ready to build a better PDSA cycle and keep improvement work visible from one stage to the next? Magiboards USA offers a hospital dry erase board that fits your process and gives providers a clear place to guide each test. With a custom-printed layout built around your team’s workflow, this tool can help staff stay focused, review results more easily, and move each cycle toward a clear next step. Explore our options today!