
Launching a product can be extremely stressful and busy. Between coordinating teams, setting timelines, and tracking deliverables, it’s easy for details to slip through the cracks. That’s where whiteboards come in.
Using whiteboards to plan product launches gives your team a visual, collaborative space to organize ideas and stay aligned. Unlike digital tools that can feel cluttered or disconnected, a whiteboard puts everything in one place. Everyone can see the big picture at a glance.
In this blog, we’ll explore how whiteboards transform the product launch process. You’ll learn practical ways to map out timelines, brainstorm strategies, and keep your team on track from concept to launch day.
Why Whiteboards Work for Product Launch Planning
Whiteboards offer something digital tools can’t replicate: immediacy. When your team gathers around a board, ideas flow faster. There’s no logging in, no waiting for files to load, and no navigating through multiple tabs.
Another advantage? Whiteboards keep everything visible. Your launch timeline, task assignments, and key milestones stay in plain sight. This transparency helps everyone understand their role and how their work fits into the larger plan.
Setting Up Your Whiteboard for Launch Planning
Before you start mapping your launch, take time to organize your whiteboard. A clear structure makes it easier to track progress and avoid confusion.
Choose the Right Layout
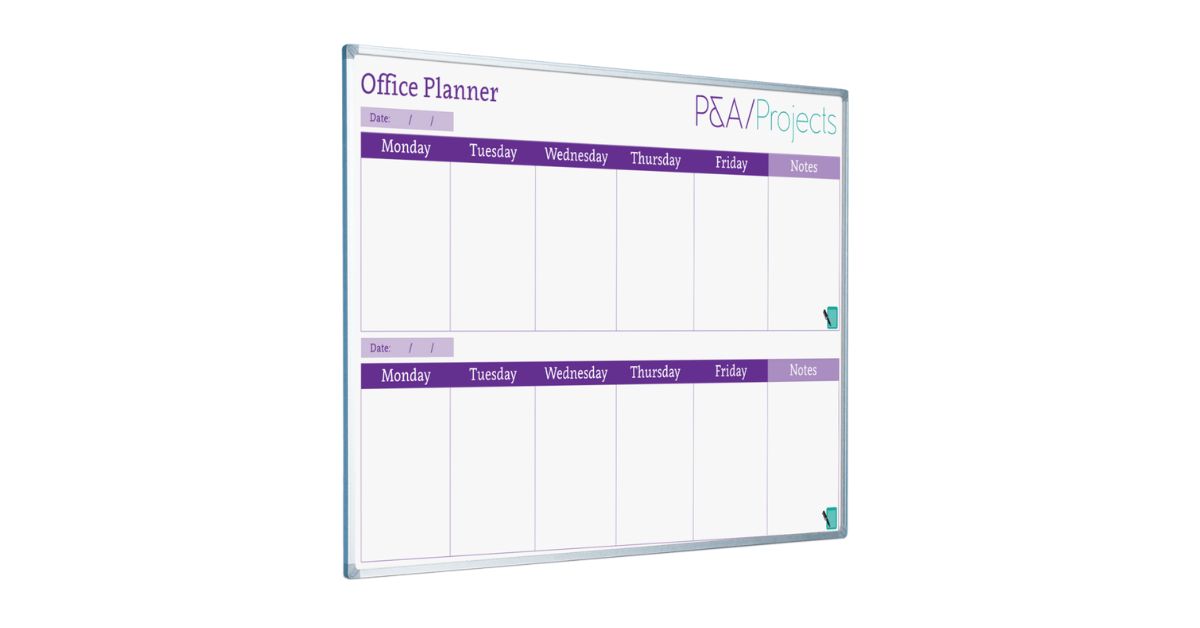
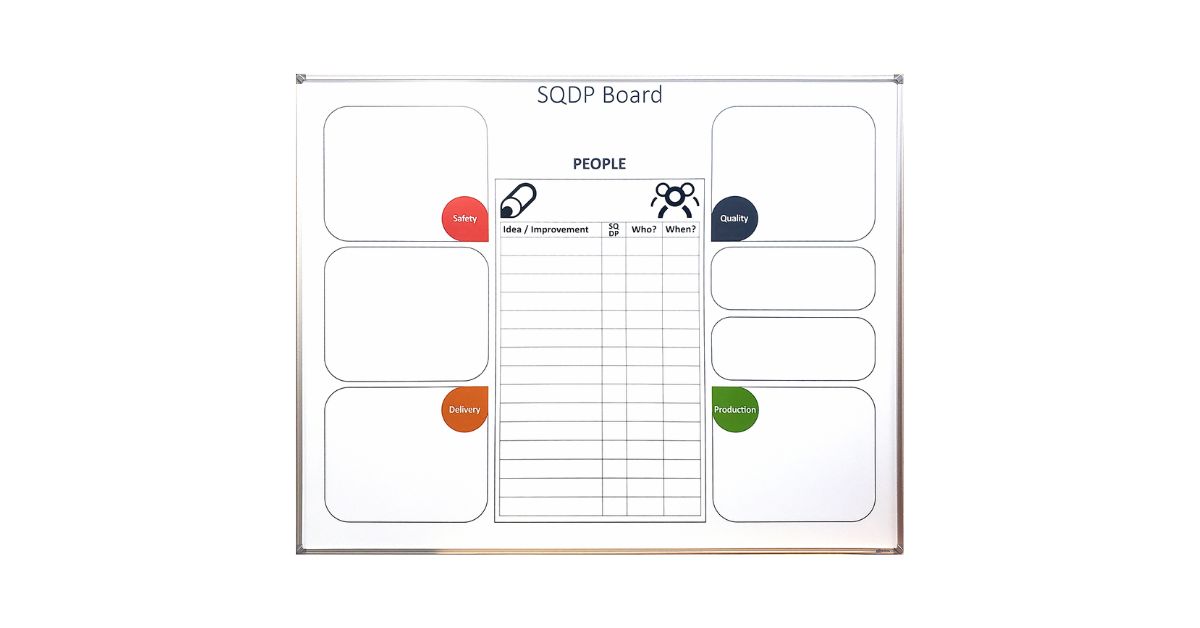
Start by dividing your whiteboard into sections. You might create areas for timelines, task lists, team roles, and key metrics. Use different colored markers to distinguish between categories. This visual organization helps team members quickly locate the information they need.
Consider your room setup, too. Place the whiteboard where everyone can see it during meetings. If you’re working with a large team, you might need multiple boards or a larger surface area.
Gather Your Materials
Stock up on quality dry-erase markers in various colors. Keep erasers and cleaning solutions nearby to maintain a clear workspace. Magnetic accessories, such as clips or holders, can help you attach reference documents directly to the board.
Don’t forget sticky notes. They’re perfect for tasks you might need to move around as priorities shift. This flexibility becomes invaluable when plans change mid-launch.
Mapping Your Product Launch Timeline
A visual timeline is one of the most powerful ways to use your whiteboard. It helps your team see how all the pieces of your launch fit together chronologically.
Create Your Master Timeline
Draw a horizontal line across your whiteboard to represent your launch period. Mark your target launch date on the far right, then work backward to plot major milestones. Include dates for beta testing, marketing campaign kickoffs, and final product reviews.
Space these milestones proportionally so that the timeline accurately reflects the time each phase takes. This visual representation often reveals bottlenecks or unrealistic deadlines you might have missed in a spreadsheet.
Break Down Each Phase
Under each milestone on your timeline, list the specific tasks that need to be completed. For example, under “Marketing Campaign Launch,” you might write “finalize ad copy,” “approve graphics,” and “schedule social posts.”
Assign team members to each task and add target completion dates. Use different colors to indicate task status: green for completed, yellow for in progress, and red for delayed.
Brainstorming Launch Strategies
Your whiteboard becomes a creative playground during strategy sessions. The open space invites wild ideas that might lead to breakthrough marketing approaches.
Run Structured Brainstorming Sessions
Start with a clear question or challenge written at the top of your board. For example: “How can we create buzz around our product before launch day?” Give team members sticky notes and have them write down ideas individually first.
Then, have everyone stick their notes on the board and group similar concepts together. This process, called affinity mapping, helps you identify patterns and prioritize the strongest ideas.
Map Your Customer Journey
Use your whiteboard to walk through your customers’ experience with your product launch. Draw a simple flowchart starting with awareness and moving through consideration, purchase, and post-purchase support.
Under each stage, note the touchpoints where customers will interact with your brand. This might include social media ads, email campaigns, landing pages, or customer service channels. Identifying these touchpoints early helps you coordinate messaging across all platforms.
Tracking Tasks and Responsibilities
A successful launch requires clear accountability. Your whiteboard can serve as a central hub for task management.
Create a Task Matrix
Divide a section of your board into columns for different team members or departments. List tasks vertically down the left side. As you assign responsibilities, write each person’s name in the corresponding cell.
This matrix makes it immediately obvious if one person is overloaded while another has capacity. You can rebalance workloads before anyone burns out. Additionally, the public nature of this display motivates team members to stay on top of their commitments.
Hold Daily Stand-Ups
Gather your team around the whiteboard each morning for a quick check-in. Have each person share what they completed yesterday, what they’re working on today, and any roadblocks they’re facing.
Update the board as people report progress. Move completed tasks to a “Done” column or erase them. This daily ritual keeps momentum high and prevents small issues from becoming major problems.
Capturing and Organizing Feedback
During a product launch, feedback comes from multiple sources: internal testing, beta users, stakeholders, and early customers. Your whiteboard can help you collect and act on this input.
Set Up a Feedback Section
Dedicate part of your whiteboard to feedback categorization. Create columns for different feedback types, including feature requests, bug reports, usability issues, and positive comments. As feedback rolls in, add it to the appropriate column.
Review this section regularly with your team. Decide together what needs immediate attention before launch and what can wait for future updates. This collaborative triage process prevents one person from becoming a decision-making bottleneck.
Prioritize Action Items
Once you’ve collected feedback, you need to decide what to tackle. Use a simple prioritization framework on your whiteboard. Draw a two-by-two grid with “Impact” on one axis and “Effort” on the other.
Place each feedback item in the appropriate areas. High-impact, low-effort items become your quick wins. Meanwhile, high-impact, high-effort items might require more planning. This visual prioritization helps your team focus on changes that will genuinely improve your launch.
Bringing It All Together
Using whiteboards to plan product launches combines the best of analog and collaborative thinking. They give your team a shared space to visualize complex projects, spot problems early, and celebrate progress together.
The most successful launches happen when everyone understands the plan and their role in it. Whiteboards make that transparency effortless! They turn abstract concepts into concrete visuals that guide daily decisions.
Ready to elevate your launch planning with fully customizable production boards? At Magiboards USA, we specialize in providing tailored whiteboard solutions designed to meet your exact needs. Contact our expert team today to discuss how we can create a perfectly organized setup for your successful product launches.


